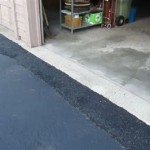
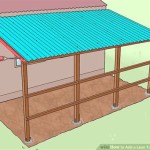
Garages are an important part of any home, but many homeowners don’t give them the attention they deserve. Installing wood flooring in your garage is an easy and inexpensive way to instantly make it look better and add value to your home. Wood flooring also makes it easier to keep your garage clean and create a more enjoyable space to work in.
When choosing wood flooring for your garage, it’s important to consider the climate you live in. Choose a wood that can withstand the elements, like cedar or redwood, and make sure it has been treated with a waterproof sealant. For extra durability, look for flooring with an interlocking tongue-and-groove system. This system makes it easier to install and prevents water and dirt from getting between the boards.
Before installing your wood flooring, make sure your garage is properly prepared. Any oil, grease, or dirt should be cleaned up as much as possible. You might also need to level out any uneven spots on the ground. Once you’ve done that, you can lay down a layer of plywood under the wood flooring for extra support.
Installing wood flooring in your garage is a relatively easy process. Start by nailing the boards to the subfloor in rows. Make sure the nails are driven in at an angle, and leave a gap of about 1/8 inch between the boards to allow for expansion. Once the flooring is laid, you can use a hammer and chisel to remove any excess nails.
Adding wood flooring to your garage is an easy and affordable way to upgrade the look of your space. It can also make it easier to keep your garage clean and make it a more enjoyable place to work. With a little preparation and the right materials, you can easily install wood flooring in your garage and make the most of this important area of your home.


Related Posts


